Creating Dialogs
The FFS Scripting API enables you to create appealing user interfaces in just a few lines of code. They'll look just like the rest of the simulator UI, and even work in VR! To get started, creating a new script Data\Scripts\UIAddon.chai
def onStart()
{

}

def onGraphicsFrame()
{

}

def onUIFrame()
{
    auto& ui = GetUI();
    ui.startWindow("Demo Add-on UI");
    ui.text("Hello, graphical world!");
    ui.endWindow();
}
Now, our script has a new "onUIFrame" function. The simulator will call this function every frame, as part of drawing the user interface. This gives you the opportunity to create your own dialogs. FlyInside's UI is based upon the wonderful ImGui. With ImGui, you create your GUI out of code. If you have a call to "startWindow" and "endWindow" every frame, a window will be created and persisted for you. You don't need to keep track of persisting any window objects. Overall, this code is pretty simple:
auto& ui = GetUI();- Obtain a reference (that's what the ampersand means) to the simulator User Interface.ui.startWindow("Demo Add-on UI");- Create a window, with the title "Demo Add-on UI."ui.text("Hello, graphical world!");- Draw some text within our window.ui.endWindow();- Tells the UI that you are done drawing this window. You always need a matching endWindow call for each startWindow call.
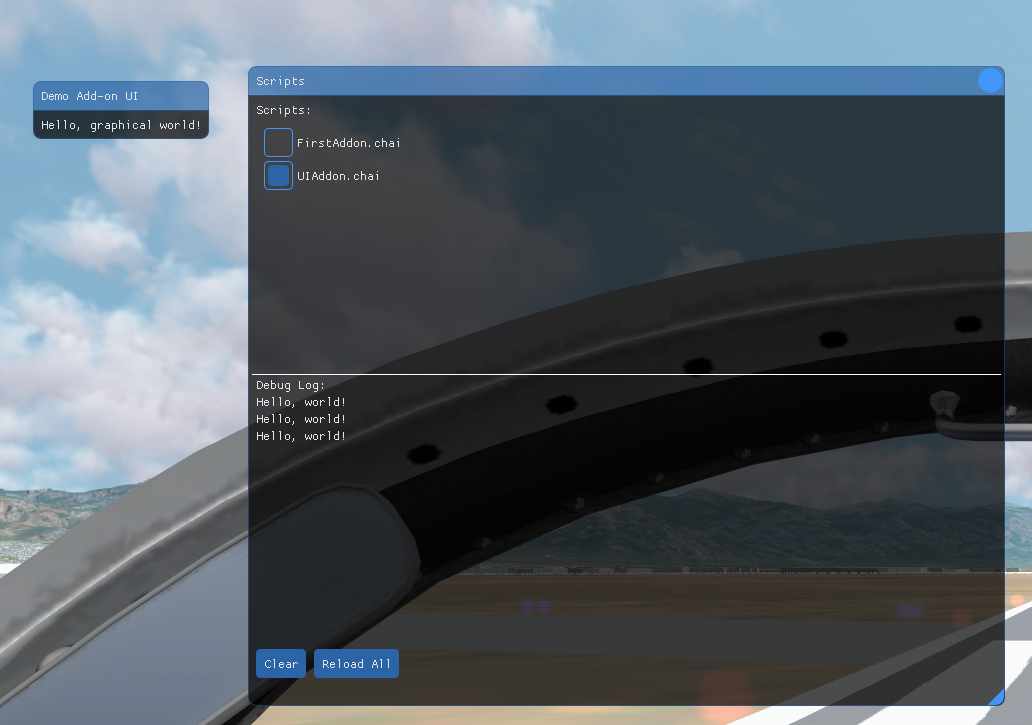
Go ahead and run your new plugin! You should see something like the following:
OK, so it's one thing to display some text. What about user interaction? That's pretty easy too
global usersName = "Bob";
def onUIFrame()
{
    auto& ui = GetUI();
    ui.startWindow("Demo Add-on UI");

    ui.inputString("Name", usersName);
    if (ui.button("Clear Name"))
    {
        usersName = "";
    }
    ui.text("Hello, " + usersName);

    ui.endWindow();
}
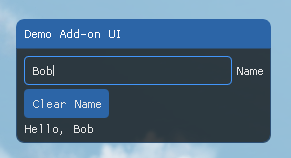
That was pretty easy too! ui.inputString displays a text-box, and modifies the variable passed in (second parameter) to whatever the user types. ui.button displays a button, and returns "true" whenever the user clicks it. You should now have an interactive dialog like this:
Windows aren't just for basic input/output. You can also draw custom graphics. It's pretty easy to make a radar animation:
global usersName = "Bob";
global timer = Timer();

def onUIFrame()
{
    auto& ui = GetUI();
    ui.startWindowSized("Demo Add-on UI", ivec2(400, 400));

    ui.inputString("Name", usersName);
    if (ui.button("Clear Name"))
    {
        usersName = "";
    }
    ui.text("Hello, " + usersName);

    var angle = timer.totalSeconds() * 2.0;
    var windowPos = ui.getWindowPos();

    auto center = windowPos + ivec2(200, 230);
    auto radius = 150.0;

    ui.drawCircle(center, radius, vec3(0.0, 1.0, 0.0), 1.0);
    ui.drawCircle(center, radius * 0.5, vec3(0.0, 1.0, 0.0), 1.0);
    ui.drawCircle(center, radius * 0.01, vec3(0.0, 1.0, 0.0), 1.0);
    ui.drawLine(center, center + ivec2(cos(angle) * radius, sin(angle) * radius), vec3(0.0, 1.0, 0.0), 4.0);

    if (cos(angle * 0.37) > 0.0)
    {
        ui.fillCircle(center + ivec2(40, 30), 3, vec3(1.0, 0.0, 0.0));
    }

    if (cos(angle * 0.57) > 0.0)
    {
        ui.fillCircle(center + ivec2(10, -45), 3, vec3(1.0, 0.0, 0.0));
    }

    ui.endWindow();
}
There are a few new concepts here, but nothing too complicated.
- We use a
Timerobject to keep track of time and animate our radar. - When you use
ui.startWindowthe window auto-sized to hold your widgets. This doesn't work with custom graphics though, so we usestartWindowSizedto manually specify the size of the window. - Graphics are drawn relative to the simulator window, rather than to your UI dialog. To draw graphics inside of our window, we need to call
ui.getWindowPos()to figure out where our window is, and then draw our graphics accordingly. Note that if you try to draw outside of your dialog, your graphics won't appear at all. drawCircleis pretty straightforward. It tooks a position (an ivec2 with x/y), a radius, a color (red-green-blue), and a line thickness. drawLine and fillCircle work similarly.
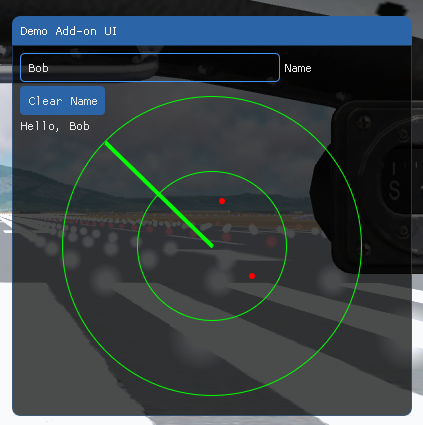
If you didn't make any typos, you'll see something like this, with a nicely animated radar beam:
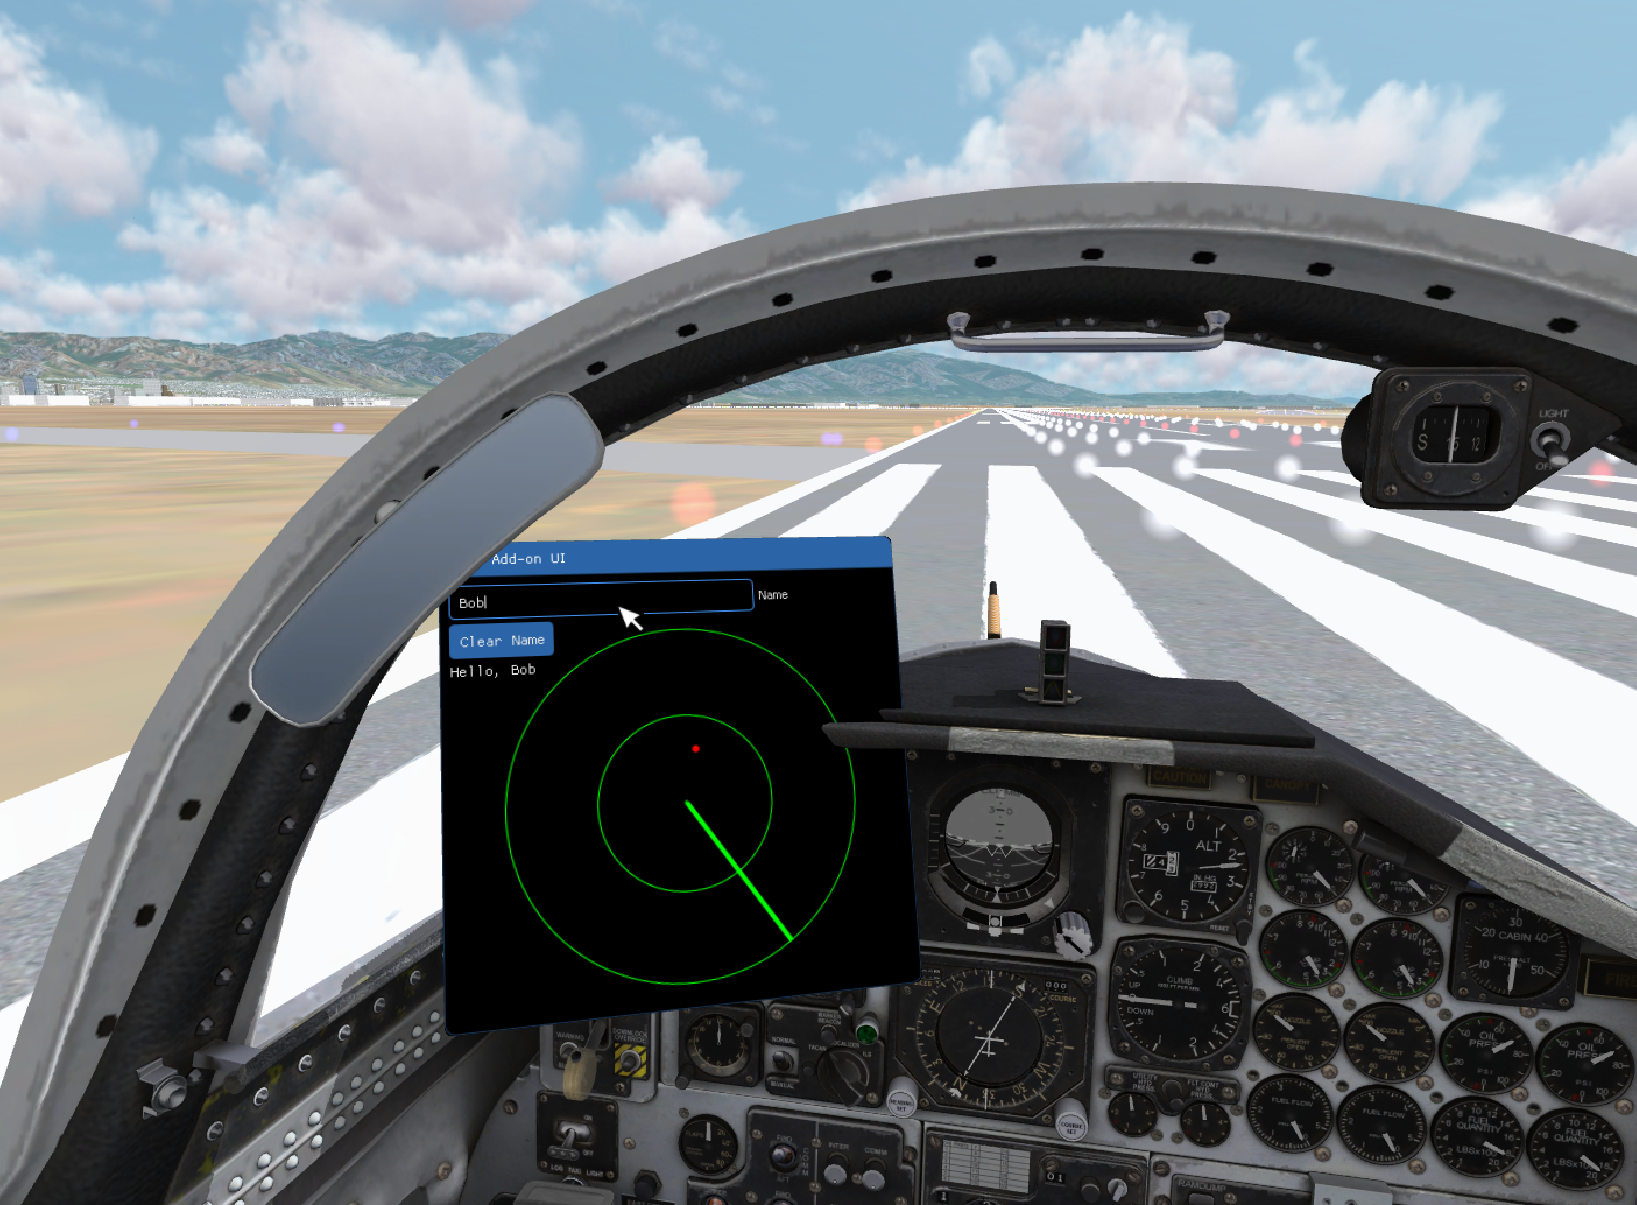
If you have a VR headset, you can even view and interact with your window in VR. You can use your mouse, Oculus Touch, Vive controllers, and Leap Motion.
That should be enough to get started! Be sure to check out SDK/Samples/AllWidgets.chai for a more advanced demo.